 使用jap-oidc
提示
jap-oidc 是为了方便快速的集成所有支持标准 OIDC 协议的平台而添加的增强包。
# 添加依赖
<dependency>
    <groupId>com.fujieid</groupId>
    <artifactId>jap-oidc</artifactId>
    <version>{latest-version}</version>
</dependency>
1
2
3
4
5
2
3
4
5
# 实现 JapUserService 接口
JapUserService 是 JAP 调用(操作)开发者业务系统中用户的接口,jap-oidc 需要实现 getByPlatformAndUid 和 createAndGetSocialUser 方法(和 jap-oauth2 模块类似)。
package com.fujieid.jap.demo.service;

import com.fujieid.jap.core.JapUser;
import com.fujieid.jap.core.JapUserService;
import com.fujieid.jap.oauth2.token.AccessToken;
import com.google.common.collect.Lists;
import com.xkcoding.json.JsonUtil;
import org.springframework.stereotype.Service;


public class JapOauth2UserServiceImpl implements JapUserService {

    /**
     * 根据第三方平台标识(platform)和第三方平台的用户 uid 查询数据库
     *
     * @param platform 第三方平台标识
     * @param uid      第三方平台的用户 uid
     * @return JapUser
     */
    @Override
    public JapUser getByPlatformAndUid(String platform, String uid) {
        return null;
    }

    /**
     * 创建并获取第三方用户,相当于第三方登录成功后,将授权关系保存到数据库
     * (开发者业务系统中 oauth2 user -> sys user 的绑定关系)
     *
     * @param platform 第三方平台标识
     * @param userInfo 第三方返回的用户信息
     * @param tokenInfo token 信息,可以强制转换为 com.fujieid.jap.oauth2.token.AccessToken
     * @return JapUser
     */
    @Override
    public JapUser createAndGetOauth2User(String platform, Map<String, Object> userInfo, Object tokenInfo) {
        // FIXME 业务端可以对 tokenInfo 进行保存或其他操作
        AccessToken accessToken = (AccessToken) tokenInfo;
        System.out.println(JsonUtil.toJsonString(accessToken));
        // FIXME 注意:此处仅作演示用,不同的 oauth 平台用户id都不一样,
        // 此处需要开发者自己分析第三方平台的用户信息,提取出用户的唯一ID
        String uid = (String) userInfo.get("userId");
        // 查询绑定关系,确定当前用户是否已经登录过业务系统
        JapUser japUser = this.getByPlatformAndUid(platform, uid);
        if (null == japUser) {
            // 保存用户
            japUser = createJapUser();
            japUser.setAdditional(userInfo);
            userDatas.add(japUser);
        }
        return japUser;
    }
}
1
2
3
4
5
6
7
8
9
10
11
12
13
14
15
16
17
18
19
20
21
22
23
24
25
26
27
28
29
30
31
32
33
34
35
36
37
38
39
40
41
42
43
44
45
46
47
48
49
50
51
52
2
3
4
5
6
7
8
9
10
11
12
13
14
15
16
17
18
19
20
21
22
23
24
25
26
27
28
29
30
31
32
33
34
35
36
37
38
39
40
41
42
43
44
45
46
47
48
49
50
51
52
特别注意
上面示例代码仅作演示,具体业务逻辑需要开发者自己实现
# 创建 OAuth 应用
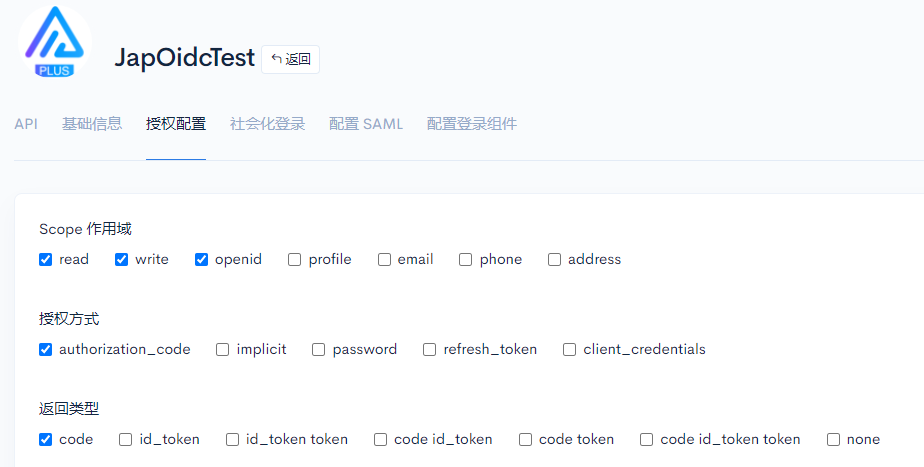
需要开发者自己去对应的平台创建支持 OIDC 的 OAuth 应用,开发者还可以参考 Gitee 登录 - 申请应用 (opens new window) 这篇文章。
本例以 JAI (opens new window) 平台为例,创建一个 OAuth 应用,创建完成后的应用如下:


# 实现 controller
import cn.hutool.core.util.URLUtil;
import com.fujieid.jap.core.JapUserService;
import com.fujieid.jap.core.config.JapConfig;
import com.fujieid.jap.core.result.JapResponse;
import com.fujieid.jap.http.jakarta.JakartaRequestAdapter;
import com.fujieid.jap.http.jakarta.JakartaResponseAdapter;
import com.fujieid.jap.oauth2.Oauth2GrantType;
import com.fujieid.jap.oauth2.Oauth2ResponseType;
import com.fujieid.jap.oidc.OidcConfig;
import com.fujieid.jap.oidc.OidcStrategy;
import me.zhyd.oauth.utils.UuidUtils;
import org.springframework.web.bind.annotation.RequestMapping;
import org.springframework.web.bind.annotation.RestController;
import org.springframework.web.servlet.ModelAndView;
import org.springframework.web.servlet.view.RedirectView;

import javax.annotation.Resource;
import javax.servlet.http.HttpServletRequest;
import javax.servlet.http.HttpServletResponse;
import java.io.IOException;

@RestController
@RequestMapping("/oidc")
public class OidcController {

    @Resource(name = "oauth2")
    private JapUserService japUserService;

    @RequestMapping("/login/jai")
    public ModelAndView renderAuth(HttpServletRequest request, HttpServletResponse response) throws IOException {
        OidcStrategy oidcStrategy = new OidcStrategy(japUserService, new JapConfig());
        OidcConfig config = new OidcConfig();
        // 配置 OIDC 的 Issue 链接
        config.setIssuer("xxxx")
                .setPlatform("jai")
                .setState(UuidUtils.getUUID())
                .setClientId("xxx")
                .setClientSecret("xxx")
                .setCallbackUrl("http://localhost:8443/oidc/login/jai")
                .setScopes(new String[]{"read", "write"})
                .setResponseType(Oauth2ResponseType.CODE)
                .setGrantType(Oauth2GrantType.AUTHORIZATION_CODE);
        JapResponse japResponse = oidcStrategy.authenticate(config, new JakartaRequestAdapter(request), new JakartaResponseAdapter(response));
        if (!japResponse.isSuccess()) {
            return new ModelAndView(new RedirectView("/?error=" + URLUtil.encode(japResponse.getMessage())));
        }
        if (japResponse.isRedirectUrl()) {
            return new ModelAndView(new RedirectView((String) japResponse.getData()));
        } else {
            // 登录成功,需要对用户数据进行处理
            // ...
            System.out.println(japResponse.getData());
            return new ModelAndView(new RedirectView("/"));
        }
    }
}
1
2
3
4
5
6
7
8
9
10
11
12
13
14
15
16
17
18
19
20
21
22
23
24
25
26
27
28
29
30
31
32
33
34
35
36
37
38
39
40
41
42
43
44
45
46
47
48
49
50
51
52
53
54
55
56
2
3
4
5
6
7
8
9
10
11
12
13
14
15
16
17
18
19
20
21
22
23
24
25
26
27
28
29
30
31
32
33
34
35
36
37
38
39
40
41
42
43
44
45
46
47
48
49
50
51
52
53
54
55
56
# 测试登录
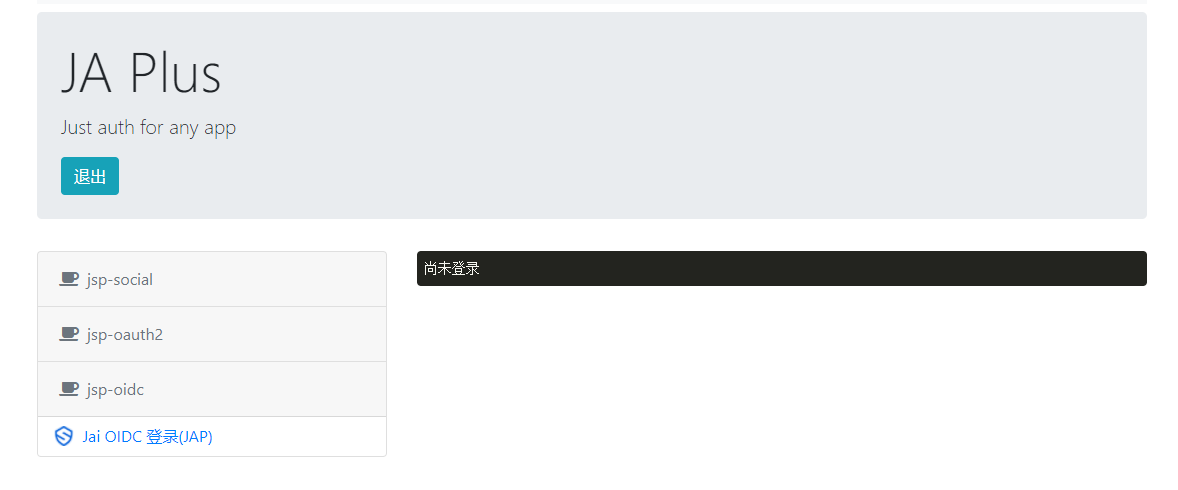
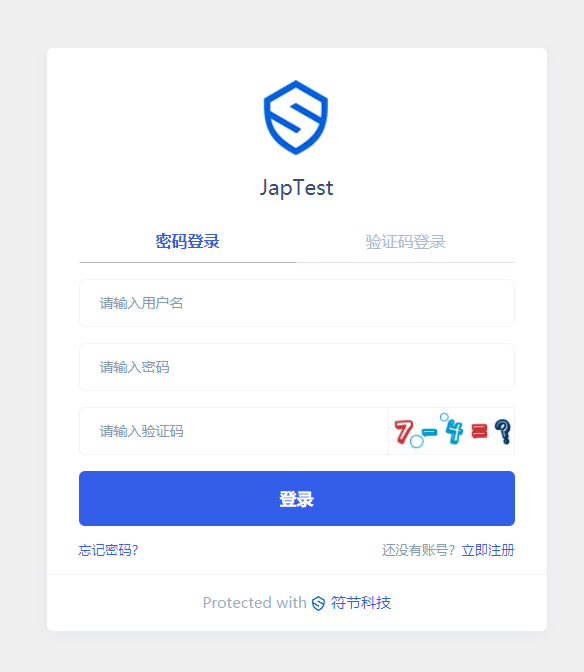
启动测试项目后访问 http://127.0.0.1:8443/oidc/login/jai

登录账号

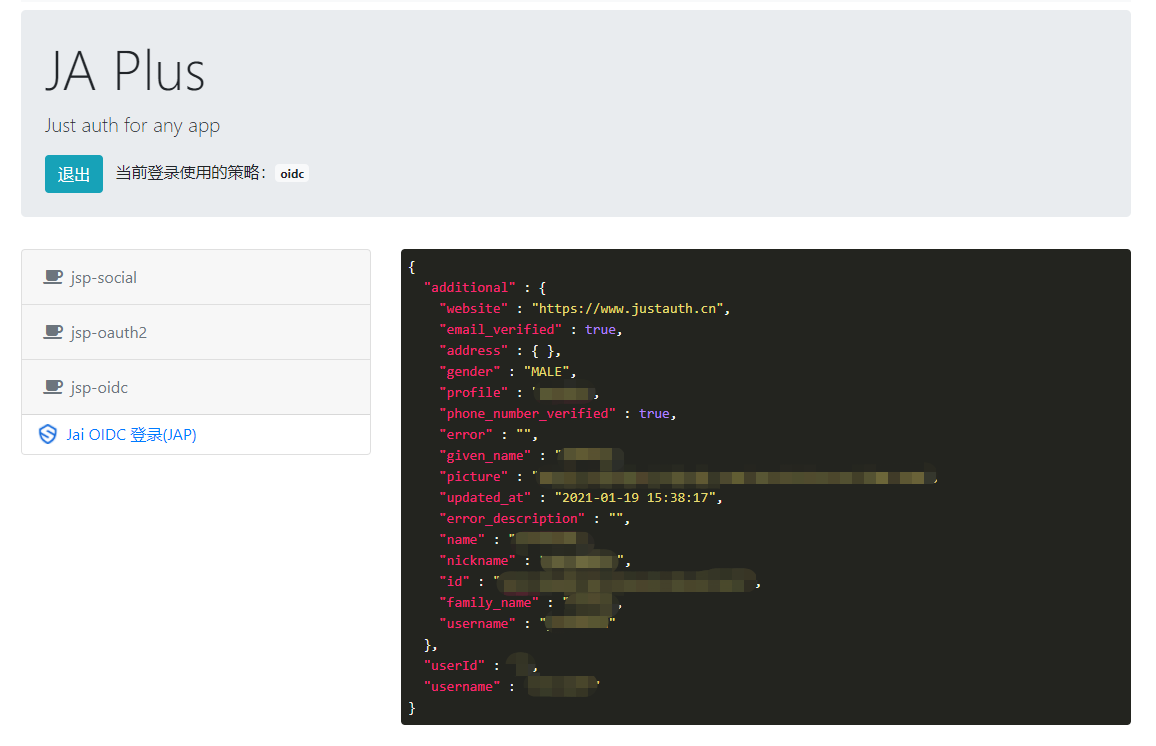
登录成功

提示
注意此处登录的时候没有显示授权页面,是因为我们在创建应用的时候勾选了自动批准。对于其他平台可能没有此项配置,实际要以第三方平台支持的配置为主。
注意
response data 的格式为:
{
  "additional" : {},
  "userId" : "1",
  "username" : "jap"
}
1
2
3
4
5
2
3
4
5
其中 additional 节点第三方平台的用户信息。
# OidcConfig 配置项
| 参数名 | 参数类型 | 必填 | 解释 |
|---|---|---|---|
issuer | String | √ | IDP 提供方的域名标识 |
userNameAttribute | String | x | 用户名属性(保留字段) |
须知
OidcConfig 继承自 OAuthConfig, 除了以上列出的两个属性外,其余属性同 使用jap-oauth2 - OAuthConfig 配置项
# 官方推荐
- 普通示例项目:jap-demo (opens new window)
- 前后端分离项目示例:jap-demo-vue (opens new window)
编辑 (opens new window)
Last Updated: 2021/10/09, 22:47:39
